
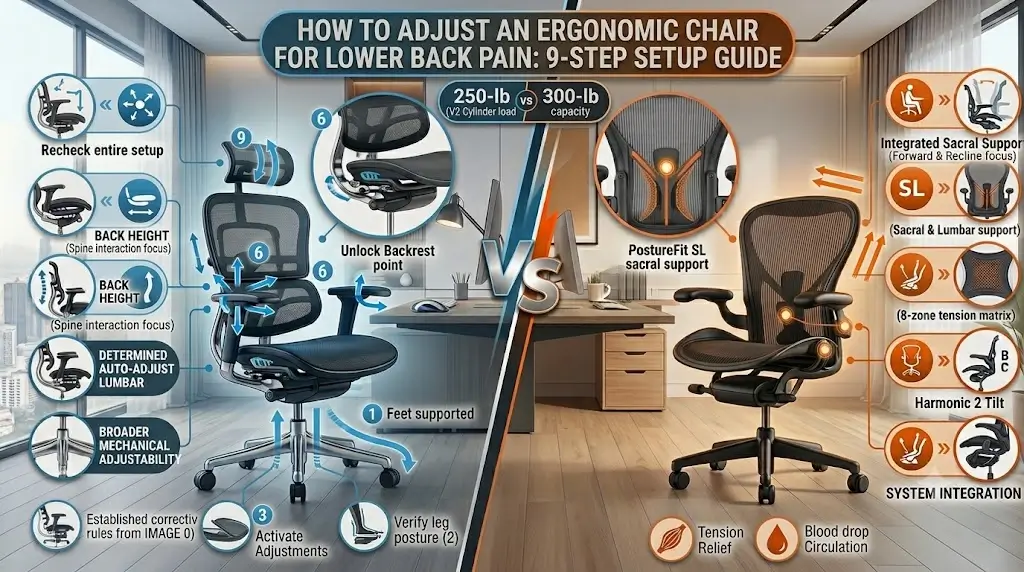
How to Adjust an Ergonomic Chair for Lower Back Pain: 9-Step Setup Guide
Learning how to adjust an ergonomic chair for lower back pain is not about finding one magic seat angle. It is to fit the chair to your body, then fit the desk, keyboard, mouse, and monitor around that position.
Quick Reference Specification: 9-Point Ergonomic Calibration Protocol
| Adjustment Vector | Biomechanical Target Setting | Primary Clinical & Ergonomic Outcome |
|---|---|---|
| 1. Seat Height | Feet flat on floor; hips level or +1–2″ above knees | Relieves ischial tuberosity pressure and stabilizes lumbar sacral base |
| 2. Seat Depth | 2 to 3 fingers gap (1.5–2.5″) behind knee crease | Eliminates popliteal vascular and sciatic compression while maintaining pelvic back contact |
| 3. Lumbar Position | Direct contact with inward lordotic curve (L1–L5) | Prevents C-curve posterior pelvic tilt and reduces intradiscal pressure |
| 4. Recline Angle | 100° to 115° trunk-to-thigh backrest angle | Transfers upper body mass to backrest, reducing continuous lumbar disc compression |
| 5. Armrest Plane | Forearms supported at 90° elbow bend; shoulders dropped | Offloads upper trapezius and shoulder girdle tension |
| 6. Visual Display | Top third at eye level; 20–40″ viewing distance | Eliminates cervical hyperextension and torso forward-lean compensation |
A common mistake is adjusting only the lumbar knob and assuming the chair is now ergonomic. In practice, seat height, seat depth, backrest position, recline tension, armrest height, desk height, keyboard position, and monitor distance interact. A lumbar support can feel uncomfortable simply because the seat is too deep or the user is sitting too high.
This guide uses a practical workstation-fitting approach rather than prescribing one posture for everyone. The goal is a position that supports your body while still allowing normal movement and position changes during the workday.
How to Adjust an Ergonomic Chair for Lower Back Pain: Key Posture Goals
Biomechanical research demonstrates that neutral spinal alignment reduces lumbar intradiscal loading during continuous sedentary tasking.
There is no single chair setting that is correct for every person. Body proportions, chair geometry, desk height, screen position, and the amount of time spent sitting all affect the final setup.
A useful starting position has five characteristics:
- Your feet are fully supported by the floor or a stable footrest.
- Your hips are level with or slightly higher than your knees.
- Your lower back is supported by the chair’s backrest.
- Your shoulders can stay relaxed while your hands reach the keyboard and mouse.
- You can recline and change position without losing contact with the backrest.
OSHA’s computer workstation guidance similarly emphasizes supported feet, lower-back support, neutral upper-body positioning, appropriate seat depth, and the ability to change posture. It also recommends adjusting the chair together with the rest of the workstation rather than treating the chair as an isolated component.
The 9-Step Ergonomic Chair Adjustment Sequence
Stepwise calibration protocols eliminate posture compensation by adjusting pelvic base support before configuring upper-body alignment.
When learning how to adjust an ergonomic chair for lower back pain, execute each step in this specific order. The sequence matters because later adjustments depend on earlier ones.
1
Set the Chair Height
Begin with your feet. Sit all the way back in the chair and lower or raise the seat until both feet can rest firmly on the floor. Verify your exact body measurements against our ergonomic desk and chair height chart to find your precise seated elevation baseline.
Your thighs should be approximately level with the floor, with your hips at about the same height as your knees or slightly higher. Your lower legs should feel supported without your feet dangling. If using an aftermarket cushion, factor in the added 2–3 inches of height before locking cylinder height.
Do not choose the chair height based only on where your desk happens to be. A fixed desk can be too high for a properly positioned chair, which creates a common chain reaction: the chair gets raised, the feet lose support, the shoulders rise, and the user eventually slides forward in the seat.
2
Set the Seat Depth
Seat depth determines how much of your thighs are supported and whether you can sit against the backrest without the front edge of the seat pressing behind your knees.
Start by sitting fully back with your pelvis against the backrest. Then check the front of the seat. It should support much of your thigh without pressing directly into the popliteal space behind the knee joint. If you suffer from nerve tingling down the legs, read our guide on how to sit with sciatica at a desk to avoid femoral and sciatic nerve impingement.
If the seat is too deep, shorter users may compensate by sliding forward. That removes the lower back from the lumbar support and creates a posture that looks like a chair problem but is actually a seat-depth problem.
If the seat is too shallow, taller users may lose useful thigh support and feel as though they are sitting on the front portion of the chair.
3
Position the Lumbar Support
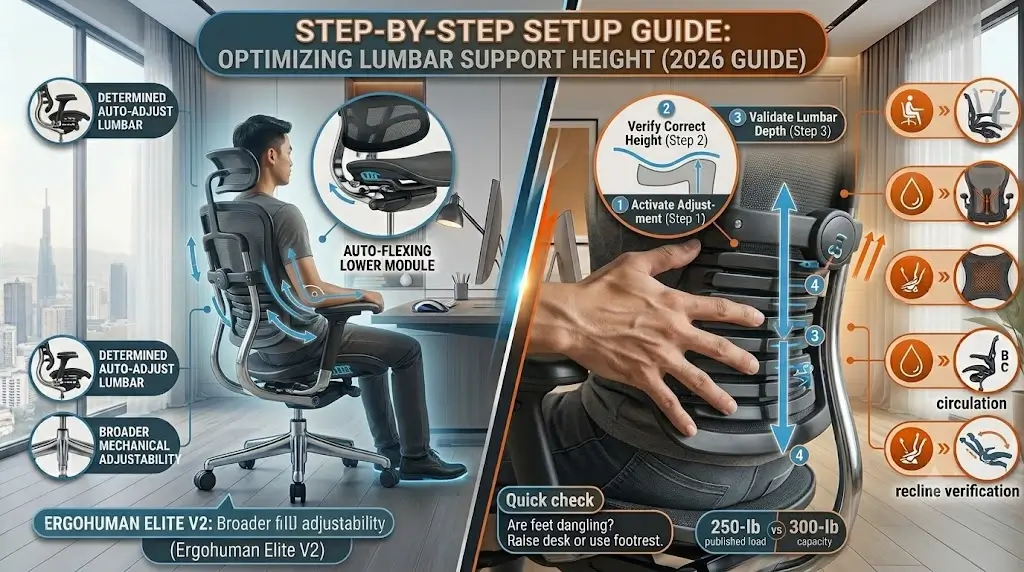
Now adjust the lumbar support. This should be done after seat height and seat depth, because changing the seat position changes where your lower back contacts the backrest. To understand how modern auto-tuning mechanisms work, read our technical breakdown explaining what is dynamic lumbar support.
The lumbar support should meet the natural inward curve of your lower back. It should feel supportive rather than like a hard object pressing into one small area. If your existing chair lacks built-in adjustment, pairing it with tested aftermarket cushions restores healthy lordosis.
If your chair has adjustable lumbar height, move it gradually. If it has lumbar depth adjustment, start with moderate pressure and increase it only if the support remains comfortable.
Signs the lumbar support may be too high:
- Pressure is concentrated above the lower-back curve.
- You feel pushed forward from the backrest.
- Your pelvis feels rotated away from the backrest.
- You have to brace against the chair to remain comfortable.
Signs the lumbar support may be too deep:
- The support feels like a hard pressure point.
- You cannot comfortably recline against the backrest.
- You repeatedly slide forward to escape the pressure.
- The chair feels more comfortable when the lumbar mechanism is reduced.
4
Adjust the Backrest Recline
Do not assume that an office chair must be locked at exactly 90 degrees. A slightly reclined, supported position (approx. 100° to 115°) can reduce spinal disc pressure and counteract the tendency to lean forward toward the screen.
Start from an upright position and gradually increase the recline until you can keep your back supported while maintaining comfortable access to the keyboard.
5
Set the Recline Tension
Many ergonomic chairs have a tension control that determines how much force is required to recline.
If the tension is too loose, the backrest may move excessively and you may feel that you have to stabilize yourself. If it is too tight, you may stop reclining because the chair feels resistant.
Set the tension so the backrest supports you when you lean back but still permits normal, fluid movement.
6
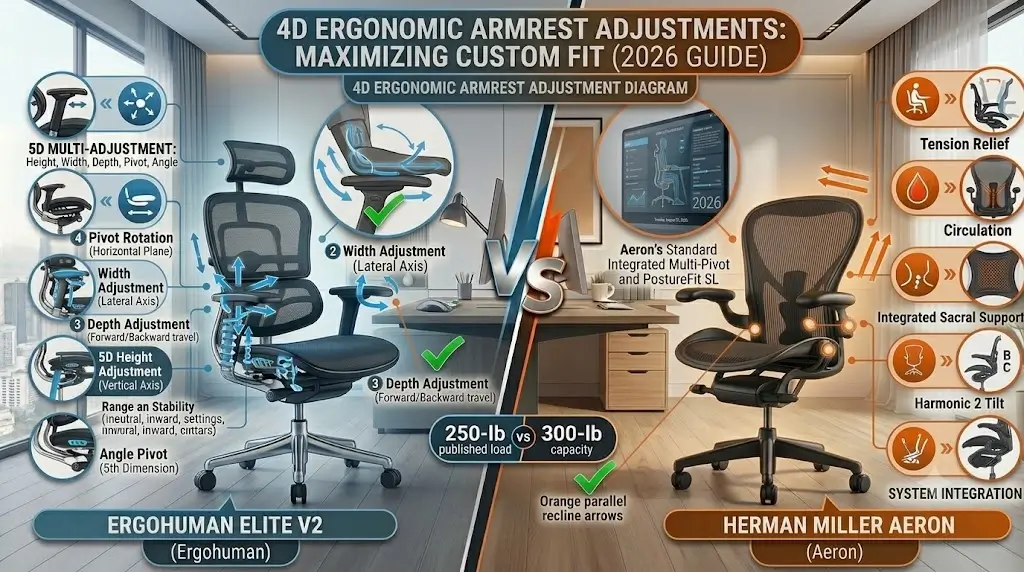
Adjust the Armrests
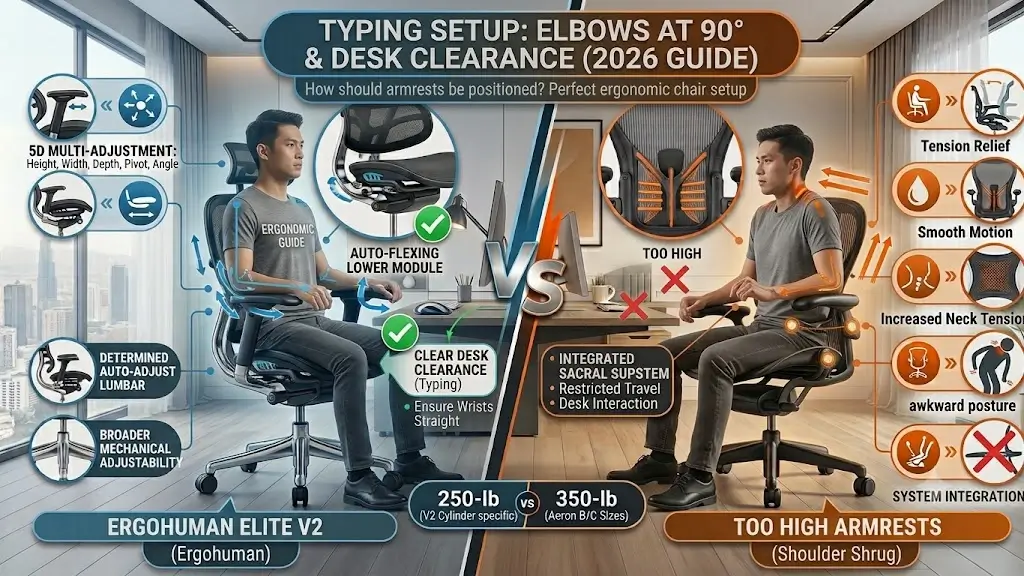
Armrests should support your forearms without forcing your shoulders upward. Raise or lower them until your elbows can remain close to your body and your shoulders stay relaxed.
If the armrests are too high, the shoulders may remain elevated while typing. If they are too low, you may lean or reach forward to find support. To dial in exact width, depth, and pivot settings, follow our dedicated setup guide on how armrests should be positioned on an ergonomic chair.
7
Bring the Keyboard and Mouse to You
Once the chair is fitted, move the keyboard and mouse toward your body rather than reaching forward from the chair. Your elbows should remain relatively close to your torso, your shoulders relaxed, and your forearms supported.
8
Position the Monitor Without Losing Back Support
A monitor that is too far away can create a subtle lower-back problem: you lean forward to read it, leaving the backrest and lumbar support behind you.
Place the display directly in front of you at a comfortable reading distance (approx. 20 to 40 inches). The top of the monitor should generally be at or slightly below eye level.
9
Recheck the Entire Setup While Working
The final adjustment should happen during actual work. Look for recurring compensation patterns:
- You repeatedly slide toward the front of the seat.
- You repeatedly lean forward to see the monitor.
- You raise your shoulders to reach the keyboard.
- You remove your back from the lumbar support during normal work.
- You keep one foot tucked underneath you because the desk or chair feels too high.
Each pattern points toward a different adjustment. Do not solve every problem by changing the lumbar knob.
Checklist: How to Adjust an Ergonomic Chair for Lower Back Pain
Comprehensive ergonomic audits verify twelve essential contact points to maintain full musculoskeletal stabilization across work shifts.
- Chair height: Feet fully supported on the floor or footrest.
- Leg position: Thighs approximately level with the floor.
- Seat depth: Thighs supported without the front edge pressing behind the knees.
- Lumbar support: Contacts the natural lower-back curve.
- Lumbar depth: Supportive without creating a concentrated pressure point.
- Backrest: Supports the back in upright and slightly reclined positions.
- Recline tension: Allows movement without making the chair unstable.
- Armrests: Shoulders relaxed and elbows close to the body.
- Keyboard: Close enough to avoid forward reaching.
- Monitor: Positioned so you can read without leaning forward.
- Movement: Change position regularly rather than holding one posture indefinitely.
Frequently Asked Questions
Clinical ergonomics specialists address critical consumer questions regarding seat heights, lordotic curvature, and 90-degree sitting postures.
How high should an ergonomic chair be for lower back pain?
Understanding how to adjust an ergonomic chair for lower back pain starts at base level: set the seat so both feet are fully supported, thighs are parallel to the floor, and hips are level with or slightly higher than your knees before setting desk clearance.
Where should lumbar support sit on an ergonomic chair?
Lumbar support should contact the natural inward curve of your lower back. Adjust the height and depth gradually until the support feels stable without creating a concentrated pressure point or pushing your torso forward.
Should you sit at exactly 90 degrees?
No. A rigid 90-degree posture is not required. A supported upright position or modest recline can both be reasonable. The important factors are back support, comfortable joint alignment, supported feet, and regular position changes.
Should lumbar support be hard or soft?
There is no universal firmness setting. The lumbar support should provide consistent contact without producing a strong pressure point or forcing an uncomfortable spinal position.
Can adjusting an office chair fix lower back pain?
Adjusting the chair can improve workstation fit and reduce awkward positioning, but it cannot diagnose or treat every cause of lower back pain. Persistent, severe, worsening, or unusual symptoms should be evaluated by an appropriate healthcare professional.
Editorial note: ErgoDeskGuides distinguishes between workstation guidance, direct product observations, manufacturer specifications, and medical information. Ergonomic recommendations are intended to help readers evaluate workstation fit; they are not individualized medical advice.
Primary reference: U.S. Occupational Safety and Health Administration (OSHA), Computer Workstations ergonomic guidance.
